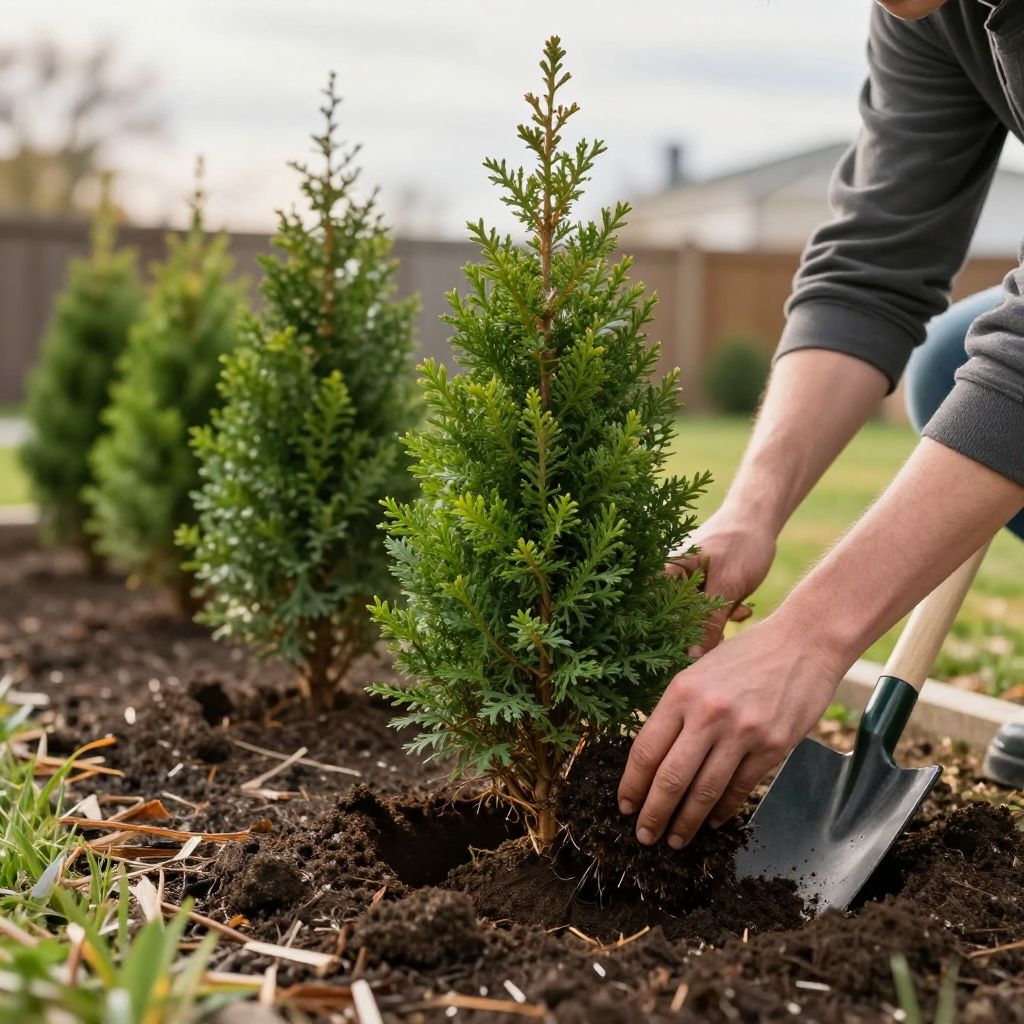
When is the best time to plant arborvitae? The short answer is usually early fall or spring, when temperatures are mild and the soil is workable. Those seasons give new roots time to establish before summer heat or winter stress arrives.
The exact timing depends on your climate, the size of the plant, and how well you can water after planting. If you match planting time to local weather, arborvitae usually settle in faster and need less rescue care later.
When to plant arborvitae?
The best time to plant arborvitae is early fall in most climates, or spring once the soil has thawed and before hot weather begins. Fall planting often gives roots a longer, cooler establishment period, while spring planting works well where winters are severe or fall comes on fast.
Why timing matters for arborvitae
Arborvitae are evergreen shrubs and trees, so they keep losing moisture through their foliage even after planting. That makes root establishment especially important.
When you plant at the right time, the roots can spread into surrounding soil before the plant has to cope with extreme heat, frozen ground, or drying winds.
What makes a good planting window?
- Mild air temperatures that reduce stress on new growth.
- Moist, workable soil that is not waterlogged or frozen.
- Enough time for rooting before summer heat or winter cold.
- Lower evaporation than during peak summer planting.
Best season by climate
Local conditions matter more than the calendar. A planting date that works in one region may be too late or too early in another.
Fall planting
In many areas, early to mid-fall is ideal. Soil is still warm enough to encourage root growth, but cooler air reduces stress and watering demands.
Try to plant at least several weeks before the ground freezes so the roots can begin to anchor the plant.
Spring planting
Spring is the next best choice, especially in colder climates where fall arrives quickly or winters are harsh. Plant after the soil is no longer soggy and before summer heat becomes intense.
If you plant in spring, pay close attention to watering through the first hot spell.
Summer planting
Summer is possible, but it is the most stressful time to plant arborvitae. Heat, sun, and faster soil drying mean the plant needs consistent moisture and closer monitoring.
If summer is your only option, choose a cool, cloudy stretch if possible and be prepared to water deeply and often enough to keep the root ball from drying out.
Winter planting
Winter planting is usually not recommended unless you live in a very mild climate where the ground stays workable. Frozen soil makes proper planting difficult, and roots cannot establish well.
How to choose the right planting site
Before you dig, make sure the site suits arborvitae. Good placement reduces future problems with browning, sparse growth, and disease.
- Sunlight: Most arborvitae grow best in full sun to light shade.
- Soil drainage: They prefer moist, well-drained soil and dislike standing water.
- Space: Give mature plants room for width, especially if you are creating a hedge.
- Wind exposure: Very windy sites can dry foliage and soil quickly.
If you are planting a privacy screen, check the mature width of the variety you bought. Crowding plants too closely often leads to poor air circulation and thinning lower branches later.
How to plant arborvitae step by step
Proper planting matters just as much as timing. A well-planted arborvitae establishes faster and is less likely to decline.
- Water the plant first. Soak the root ball before planting if it has dried out in the pot or burlap.
- Dig a wide hole. Make the hole 2 to 3 times as wide as the root ball, but no deeper than the root ball’s height.
- Check the planting depth. The top of the root ball should sit level with or slightly above the surrounding soil.
- Loosen circling roots. Gently tease apart roots that are wrapping around the container.
- Backfill with native soil. Use the soil you removed, breaking up clods and removing large stones.
- Water thoroughly. Soak the root zone to settle the soil and remove air pockets.
- Mulch the surface. Apply 2 to 3 inches of mulch, keeping it a few inches away from the trunk.
Do not bury the trunk flare. Planting too deeply is one of the most common reasons arborvitae struggle after transplanting.
Soil, compost, and drainage tips
Arborvitae do best in soil that holds some moisture but drains well. Constantly wet soil can lead to root problems, while very dry, sandy soil may need extra attention during establishment.
If your soil is heavy clay, improve the planting area by loosening a wider area around the hole and making sure water does not pool. In very poor soil, a small amount of compost mixed into the backfill can help, but avoid creating a heavily amended “pot” that traps water.
What to avoid
- Planting in a hole that fills with water after rain.
- Adding too much compost only in the hole.
- Using gravel at the bottom of the hole, which does not fix drainage.
- Letting mulch touch the trunk.
Watering after planting
Newly planted arborvitae need steady moisture while roots spread. The goal is to keep the root zone evenly moist, not soggy.
Check the soil with your finger a few inches down. If it feels dry, water deeply. If it feels wet and sticky, hold off until it begins to dry slightly.
Signs of watering trouble
- Too little water: Browning tips, drooping, and dry soil around the root ball.
- Too much water: Yellowing, soft growth, and soil that stays wet for days.
During the first growing season, the plant may need more frequent watering than an established shrub, especially during warm or windy weather. After that, it should become more resilient, though it still benefits from deep watering during dry spells.
Sunlight and spacing for healthy growth
Most arborvitae need plenty of light to stay dense and green. In too much shade, they may grow thin, especially on the lower branches.
Spacing depends on the variety and your goal. For a hedge, you may plant them closer than you would for specimen shrubs, but always allow enough room for mature spread and airflow.
Common spacing mistake
Planting arborvitae too close together can create a hedge quickly, but it often causes future crowding, disease pressure, and bare lower sections. It is usually better to plan for mature size from the start.
Pruning and maintenance after planting
Arborvitae usually need only light maintenance. Avoid heavy pruning into old bare wood, because many varieties do not regrow well from those sections.
Remove broken, dead, or rubbing branches as needed. If you are shaping a hedge, do small, gradual trims rather than drastic cuts.
- Wait until the plant is established before major shaping.
- Use clean, sharp pruners.
- Trim lightly to preserve the natural form.
Common problems after planting arborvitae
Even when planted at the right time, arborvitae can show stress. Catching issues early makes recovery more likely.
Browning foliage
Browning can come from drought, winter burn, root stress, or transplant shock. Check soil moisture first, then inspect for damaged roots, compacted soil, or exposure to harsh wind and sun.
Transplant shock
Some yellowing or slight decline is normal after planting, especially if the shrub was moved from a nursery container or balled-and-burlapped stock. Keep watering consistent and avoid fertilizer until the plant resumes active growth.
Root rot and poor drainage
If the soil stays wet for long periods, roots may decline. Improve drainage, reduce watering, and avoid planting in low spots where water collects.
Pests and disease
Arborvitae can sometimes face spider mites, bagworms, or foliar blights. Good spacing, proper watering, and healthy site conditions reduce stress and make problems less severe.
Can you plant arborvitae from containers or burlap stock?
Yes, but timing and handling matter. Container-grown plants can be planted when the soil is workable and temperatures are moderate. Balled-and-burlapped plants are often best planted in spring or fall when transplant stress is lower.
Handle the root ball carefully, and do not let it dry out before planting. If roots are tight or circling, loosen them gently so they can grow outward into the surrounding soil.
Quick checklist before you plant
- Choose a mild day in spring or fall.
- Make sure the soil drains well.
- Pick a site with enough sun and room to grow.
- Dig a wide, shallow hole.
- Plant at the correct depth.
- Water deeply after planting.
- Mulch, but keep mulch away from the trunk.
Conclusion
If you are wondering when to plant arborvitae, aim for early fall whenever possible, or spring in colder regions. Match the timing to your weather, plant in well-drained soil, and keep the root zone evenly moist through the first season. For more help choosing the right evergreens and caring for them, you may also want to read about evergreen shrub planting basics and how to maintain a healthy privacy hedge.