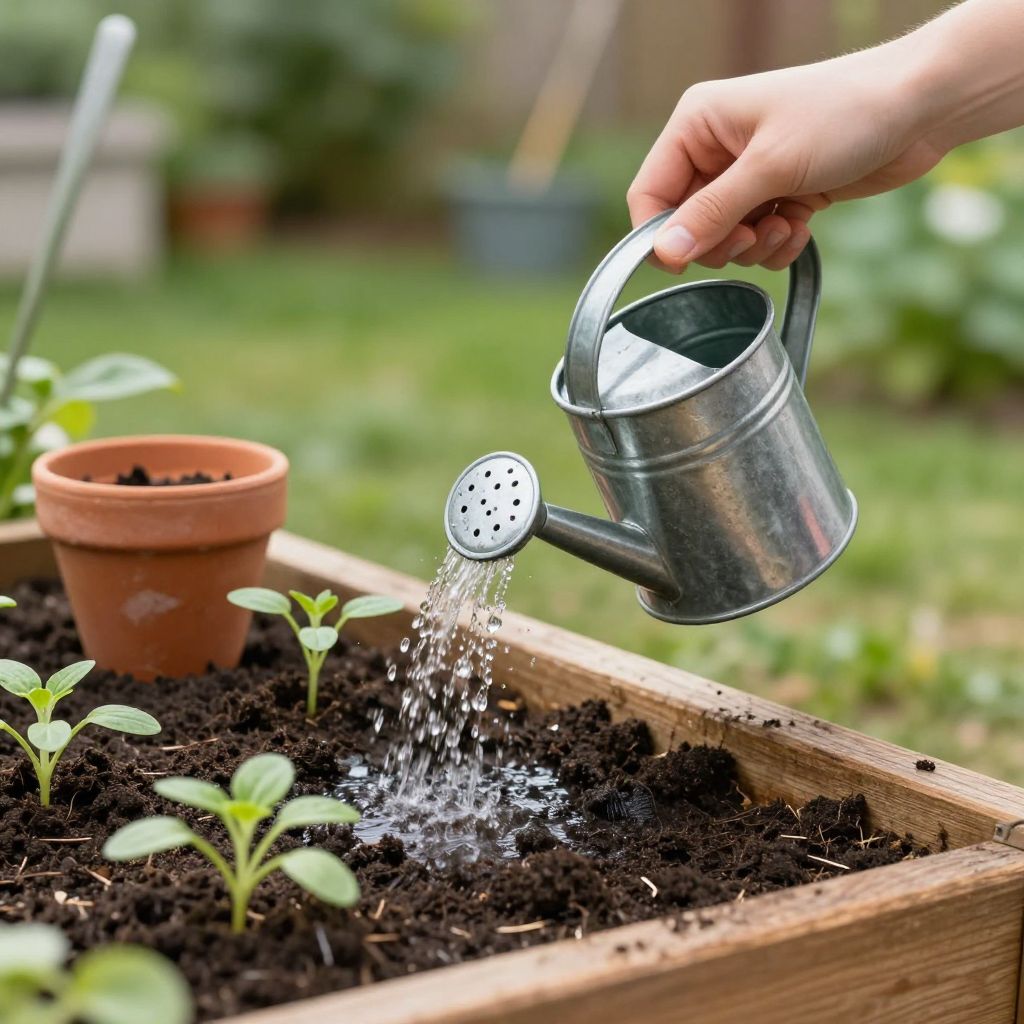
Trying to figure out whether a mini watering can is actually useful, or just a cute accessory? For many gardeners, it’s a practical tool for precise watering in small spaces, especially for seedlings, houseplants, herbs, and containers.
Used well, a mini watering can helps you avoid overwatering, reduce soil splash, and direct moisture exactly where young roots need it. The key is choosing the right size, spout style, and watering technique for the plants you grow.
What is a mini watering can used for?
A mini watering can is a small-capacity watering tool designed for controlled, targeted watering. It’s especially helpful for indoor plants, seed trays, small pots, and tight garden spaces where a full-size can would pour too much water too quickly.
Why choose a mini watering can?
Small watering cans are not just for decoration. They give you better control over moisture, which matters most when roots are shallow, soil dries unevenly, or plants are vulnerable to rot and disturbance.
Best uses around the home and garden
- Seedlings and cuttings: Gentle watering helps avoid dislodging seeds or bending tender stems.
- Houseplants: A small can is easier to carry indoors and less likely to flood saucers.
- Herb pots and window boxes: Compact containers dry out quickly and need careful watering.
- Balconies and patios: A mini can is convenient when space is limited.
- Terrariums or small collections: It helps you water only where needed.
When a mini watering can is better than a large one
Choose a mini watering can when you need precision more than volume. It is usually the better choice for small containers, newly planted seedlings, and indoor plants that need measured moisture rather than a heavy soak.
If you regularly water large beds, mature shrubs, or thirsty vegetables in hot weather, a mini can may be too slow. In that case, use it for delicate plants and keep a larger can or hose attachment for bigger jobs.
How do you use a mini watering can correctly?
Fill the can with room-temperature water, tip it low, and water slowly at the soil line until moisture begins to move through the root zone. The goal is even dampness, not a sudden flood. For seedlings and small pots, a gentle pour helps protect roots and keeps the surface from crusting.
Step-by-step watering method
- Check the soil first with your finger about 1 inch deep.
- If the top layer feels dry and the plant needs water, fill the can only as much as you can comfortably lift.
- Hold the spout close to the soil surface to reduce splash.
- Water slowly around the base of the plant, not over the leaves.
- Stop when the soil is evenly moist and excess water begins to drain from the bottom of the pot.
How much water should you add?
There is no universal amount, because pot size, plant type, temperature, light, and soil mix all change water needs. As a rule, water until the root zone is moistened, then let the pot drain freely. For seedlings and very small pots, this may be only a small amount at a time.
Important: A mini watering can is for control, not for guessing. If water runs straight through the pot, the mix may be too dry, too coarse, or packed too loosely. If the soil stays soggy for days, reduce frequency and improve drainage.
What features should you look for in a mini watering can?
The best mini watering can depends on what you grow. A good design should feel balanced in your hand, pour smoothly, and match the size of your plants and containers.
Useful features to compare
- Capacity: Small enough to handle easily, but large enough to avoid constant refilling.
- Spout shape: A narrow spout gives precision; a rose attachment softens the flow for seedlings.
- Handle comfort: A stable grip matters if you water often.
- Material: Plastic is lightweight; metal can be durable but heavier.
- Balance: A well-balanced can pours more accurately and reduces wrist strain.
Plastic or metal?
Plastic mini watering cans are usually lighter and easier for children or anyone with limited hand strength. Metal cans often feel sturdier, but they can be heavier when full and may dent if dropped. Choose the material that fits your routine, not just the look.
How do you water different plants with a mini watering can?
Different plants need different watering habits, even when the tool is the same. The mini watering can gives you precision, but you still need to adjust the amount and frequency to the plant’s growth stage and growing medium.
Seedlings and young plants
Use a very gentle flow or a rose attachment so you do not wash away seeds or expose roots. Keep the surface evenly moist, but avoid constant saturation, which can encourage damping-off and root problems.
Houseplants
Water only when the plant actually needs it. Many indoor plants prefer the top layer of soil to dry slightly between waterings, though moisture-loving plants need more consistent care. Empty saucers after watering so roots do not sit in water.
Herbs and vegetables in containers
Container-grown herbs and vegetables often dry faster than plants in the ground. A mini watering can is ideal for checking each pot individually, especially in warm weather or windy spots where containers lose moisture quickly.
Outdoor beds and borders
For small transplants or newly planted sections, a mini watering can is useful for targeted watering at the base of each plant. For larger areas, it is best used as a supplement rather than your only watering tool.
What soil and drainage issues affect watering?
Even the best watering can cannot fix poor soil structure. If water pools on top, drains too quickly, or leaves roots wet for too long, the growing medium may need attention.
Signs drainage is poor
- Water sits on the surface before soaking in
- Pots stay heavy and wet for several days
- Leaves yellow despite damp soil
- Roots smell sour or look brown and mushy
Simple fixes
- Use pots with drainage holes.
- Add a well-draining potting mix suited to the plant.
- Loosen compacted soil in beds with compost or organic matter.
- Do not let containers stand in runoff water.
Tip: If potting mix has become hydrophobic and water beads or runs off, water slowly in several passes. Let each pass soak in before adding more so the root ball rehydrates evenly.
How do you keep from overwatering?
Overwatering is one of the most common mistakes with small containers and indoor plants. A mini watering can helps, but only if you use it to respond to soil conditions rather than on a fixed schedule.
Better habits than watering on a calendar
- Check soil moisture before every watering.
- Lift small pots to learn their dry and wet weight.
- Watch the plant for signs of stress, but do not wait until it wilts badly.
- Water less often in cool, cloudy, or humid weather.
- Water more often in bright light, heat, or active growth.
Common signs of too much water
- Yellowing lower leaves
- Soft stems or a weak plant base
- Mold on the soil surface
- Fungus gnats around indoor pots
If you see these signs, let the soil dry more between waterings, improve airflow, and make sure the pot drains well. In severe cases, repotting into fresh mix may be the safest fix.
Can a mini watering can help with pests and disease?
Indirectly, yes. Careful watering reduces splashing, keeps foliage drier, and helps prevent conditions that favor fungal disease. It also makes it easier to notice early pest problems because you are close to each plant during routine care.
Good watering habits that reduce problems
- Water the soil, not the leaves, when possible.
- Water early in the day for outdoor plants so foliage dries faster.
- Avoid wetting seedlings repeatedly from above if disease is a concern.
- Remove fallen leaves and debris from pot surfaces.
For indoor plants, a mini watering can also helps you avoid spilling water onto floors, shelves, and electrical items. That makes regular care cleaner and safer.
How do you care for the mini watering can itself?
A watering can lasts longer when you keep it clean and store it properly. This is especially important if you use it for fertilizer solutions or if your water supply leaves mineral deposits.
Simple maintenance routine
- Empty leftover water after use.
- Rinse the can occasionally to prevent algae or sediment buildup.
- Check the spout and rose for blockages.
- Store it out of direct sun if the material is prone to fading or cracking.
- Keep metal cans dry to reduce rust where applicable.
If the rose attachment clogs, soak it in clean water and gently clear the holes with a soft brush or pin. Avoid forcing debris deeper into the openings.
What mistakes should you avoid?
Most problems with a mini watering can come from using it too quickly or assuming all plants need the same treatment. A little attention makes the tool far more effective.
Common mistakes
- Pouring too fast and washing soil away
- Watering only the surface instead of the root zone
- Using the same amount for every plant
- Ignoring drainage holes
- Letting water sit in saucers or trays
For seedlings, the biggest mistake is a strong stream that flattens or dislodges them. For houseplants, the most common mistake is watering before the soil has actually dried enough for that species.
Conclusion: making the mini watering can work for you
A mini watering can is one of the most useful tools for precise, low-stress plant care. Use it to water slowly, check soil moisture first, and match your approach to the plant, container, and season. If you do that, you will avoid many common watering mistakes and keep plants healthier overall.
For more practical plant-care guidance, you may also want to read about container gardening basics and how to choose the right potting mix.