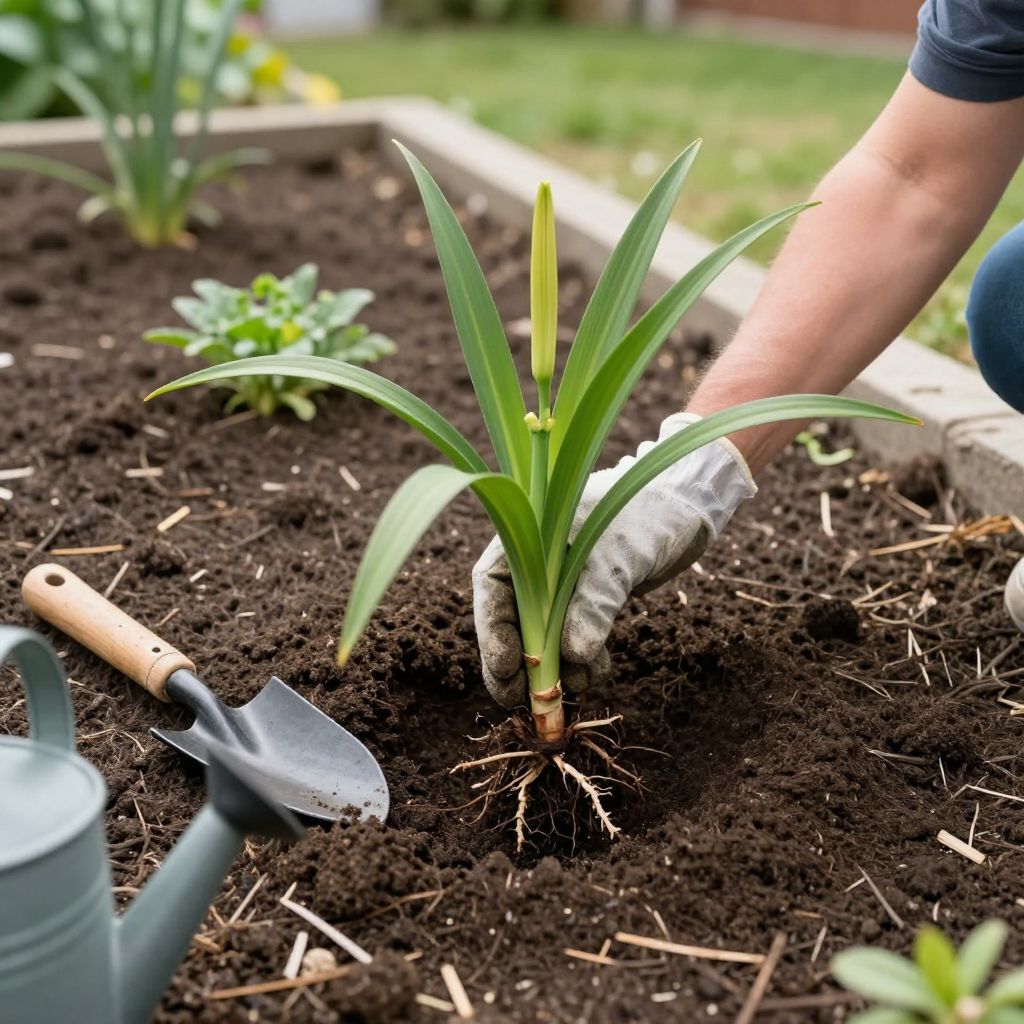
Wondering when to plant daylilies so they settle in quickly and bloom well? The best time is usually in spring or early fall, when temperatures are moderate and the soil is workable. That gives the roots time to establish before summer heat or winter cold arrives.
Daylilies are forgiving perennials, but planting at the right time makes a big difference in how fast they grow and how well they flower. If you match planting time to your climate and give them good drainage, you can expect a strong start and years of reliable performance.
When to plant daylilies?
The best time to plant daylilies is in spring or early fall, when the weather is cool enough for roots to grow without stress. In mild climates, fall planting often works especially well; in colder regions, spring planting is usually safer so plants can establish before winter.
Why timing matters for daylilies
Daylilies (Hemerocallis) are tough, but newly planted divisions or container-grown plants still need time to root in. Planting during extreme heat, drought, or freezing weather slows establishment and can reduce flowering the first season.
Good timing helps the plant focus on root growth instead of survival. That usually means better foliage, fewer wilt problems, and stronger bloom performance in the following season.
Spring planting
Spring is a reliable choice in most climates. Plant after the soil has thawed and is no longer soggy, but before hot weather arrives.
This gives daylilies a long growing season to settle in. In areas with short summers or harsh winters, spring planting is often the easiest option for beginners.
Fall planting
Fall is excellent where autumn stays mild for several weeks. Cooler air and warm soil encourage root growth, and plants often establish with less watering than in summer.
Try to plant at least 4 to 6 weeks before the ground freezes. That window gives roots time to anchor before cold weather slows growth.
Can you plant daylilies in summer?
Yes, but only if you can water carefully and avoid the hottest part of the season. Container-grown daylilies can be planted in summer, but they need extra attention while they establish.
If summer is your only option, choose a cool morning or evening, mulch lightly, and keep the soil evenly moist, not waterlogged.
How to choose the right planting time for your climate
There is no single calendar date that works everywhere. Your local frost dates, summer heat, rainfall, and soil conditions matter more than the month on the tag.
- Cold climates: Plant in spring after the soil is workable, or in early fall only if frost is still weeks away.
- Mild climates: Fall is often ideal, with spring as a close second.
- Hot, dry regions: Early spring or early fall is usually best to avoid heat stress.
- Wet climates: Plant when the soil drains well and is not saturated.
If you are unsure, check your local average last frost date in spring and first frost date in fall. Then choose a planting window that gives your daylilies several weeks of moderate weather.
Best site and soil conditions for daylilies
Daylilies grow best in full sun to light shade and in soil that drains well. They can tolerate a range of soils, but they perform best in loose, moderately fertile ground with steady moisture.
Sunlight
Most daylilies bloom best with at least 6 hours of sun. In very hot climates, a little afternoon shade can help prevent stress and keep flowers looking fresher.
Soil and drainage
Good drainage is one of the most important factors. Daylilies dislike sitting in soggy soil, especially in winter.
If your soil is heavy clay, work in compost to improve structure. If drainage is poor, consider planting in a raised bed or on a slight mound.
Soil preparation
Before planting, loosen the soil to a depth of about 12 inches. Mix in compost if needed, but avoid overloading the planting hole with rich amendments alone, which can create a “bathtub” effect and hold too much water.
How to plant daylilies step by step
- Choose a site with sun and well-drained soil.
- Dig a hole wide enough to spread the roots comfortably.
- Set the crown at the same level it was growing before, or slightly above the surrounding soil if drainage is a concern.
- Backfill with native soil, firming gently to remove air pockets.
- Water thoroughly to settle the soil around the roots.
- Mulch lightly, keeping mulch a few inches away from the crown.
Do not bury the crown too deeply. Deep planting can reduce flowering and increase the chance of rot. Daylilies prefer to sit relatively shallow in the soil.
Planting potted daylilies vs. divisions
You may buy daylilies in containers or as bare-root divisions. Both can do well, but they need slightly different handling.
Container-grown plants
These usually establish quickly because the roots are already active. Water them well after planting and keep them evenly moist for the first few weeks.
Bare-root divisions
Divisions are common in spring and fall. Trim damaged roots if needed, spread the roots out in the hole, and plant promptly so they do not dry out.
If the division is large, you can separate it into smaller fans with roots attached. Smaller divisions may take a season or two to bloom strongly, but they often establish faster than a crowded clump.
Watering after planting
New daylilies need consistent moisture while they establish, but they should never sit in stagnant water. Water deeply after planting, then check the soil regularly during the first few weeks.
A good rule is to keep the root zone evenly moist, especially during warm, windy weather. Once established, daylilies are fairly drought tolerant, but they bloom better with regular watering during dry spells.
Mulch can help conserve moisture and reduce weeds. Use a thin layer, and keep it pulled back from the crown to avoid rot.
Fertilizing and early care
Daylilies usually do not need heavy feeding. Too much nitrogen can produce lush leaves with fewer flowers.
If your soil is poor, a light top-dressing of compost in spring is often enough. In many gardens, the most useful early care is simple: water well, mulch lightly, and keep weeds from competing with the young plants.
Common mistakes to avoid
- Planting too late in the season: Late planting leaves roots little time to establish before heat or frost.
- Overwatering in heavy soil: Constant wetness can lead to crown rot.
- Planting too deep: Shallow planting is usually better than burying the crown.
- Choosing too much shade: Daylilies may survive, but flowering often drops.
- Skipping soil prep in compacted ground: Roots establish more slowly in hard, dense soil.
Ongoing care through the first season
After planting, watch for signs that the plant is settling in. New leaves should stay firm, and the clump should gradually look fuller as roots spread.
Remove spent flower stalks after blooming, but leave healthy green foliage in place. The leaves feed the roots and help the plant store energy for next year’s flowers.
When to divide established daylilies
Once a clump becomes crowded or bloom performance drops, division can refresh it. The best time to divide is usually the same as planting: early spring or early fall.
Dividing during active heat can stress the plant more than necessary, so avoid it unless you can provide close care and good moisture.
Pests and diseases to watch for
Daylilies are generally resilient, but a few problems can appear, especially in stressed plants or poorly drained soil.
- Crown rot: Often linked to planting too deep or overly wet soil.
- Aphids: May cluster on new growth or buds; a strong water spray can help.
- Spider mites: More common in hot, dry conditions; dusty foliage and stippling are clues.
- Leaf streak or spotting: Remove badly affected foliage and improve airflow.
Healthy spacing, good drainage, and clean garden habits prevent many of these issues. If a plant repeatedly struggles, the site may be the problem rather than the daylily itself.
Using daylilies in the landscape
Daylilies work well in borders, mass plantings, slopes, and low-maintenance foundation beds. Their arching leaves help soften edges, and their long bloom season adds color through much of summer.
For the best effect, group several plants together rather than scattering single specimens. Massed plantings are easier to water, mulch, and weed, and they create a fuller display once established.
Quick planting checklist
- Plant in spring or early fall for the best establishment.
- Choose a sunny site with well-drained soil.
- Loosen soil and add compost if needed.
- Keep the crown at or just above soil level.
- Water well after planting and during dry spells.
- Mulch lightly, but keep mulch away from the crown.
If you are planning your garden now, choose your planting window based on local weather rather than the calendar alone, then prepare the site before you buy the plants. For more practical perennial advice, you may also enjoy reading related gardening guides on dividing perennials and improving garden soil drainage.
Leave a Reply