Wondering when to plant hollyhock seeds so they germinate well and bloom strongly? Timing matters because hollyhocks respond differently to cool and warm weather, and the best sowing window depends on your climate and whether you’re starting them indoors or outdoors.
The good news is that hollyhocks are forgiving once established. If you sow at the right time, give them sun, drainage, and a little patience, you can grow tall, old-fashioned flower spikes that suit borders, fences, and cottage-style gardens.
When to plant hollyhock seeds?
The best time to plant hollyhock seeds is usually late summer to early fall or early spring, depending on your climate. In mild areas, fall sowing often gives stronger plants the following year. In colder regions, sow seeds indoors or direct sow after frost risk has passed and the soil begins to warm.
Best planting times by season
Fall sowing
Fall is often the ideal time for hollyhock seeds in areas with moderate winters. Seeds sown in late summer or early fall can settle in, form roots, and overwinter as small plants or rosettes.
This usually leads to earlier flowering the next season, especially if winter is not severe and the soil drains well.
Spring sowing
If your winters are harsh or your soil stays wet, spring sowing is a safer choice. Plant hollyhock seeds outdoors after the danger of hard frost has passed, or start them indoors 6 to 8 weeks before your last expected frost date.
Spring-sown hollyhocks often bloom later than fall-sown plants, but they can still perform very well in their second year.
Indoor starting
Starting seeds indoors helps you control moisture and temperature, which is useful if slugs, heavy rain, or cold soil are problems in your garden. Use deep pots or cell trays, because hollyhocks develop a taproot and dislike root disturbance.
Transplant carefully while seedlings are still small.
How to plant hollyhock seeds successfully
Choose the right site
Hollyhocks grow best in full sun, though they can tolerate light afternoon shade in hot climates. They prefer a spot with good air movement and well-drained soil.
Because they can grow tall, place them where they will not shade smaller plants or be battered too hard by wind.
Prepare the soil
Hollyhocks do best in soil that is loose, moderately fertile, and drains well. Work in compost before planting if your soil is poor or compacted, but avoid making it overly rich with nitrogen, which can encourage leafy growth over flowers.
If your soil tends to stay soggy, improve drainage first. Hollyhocks are more likely to struggle in wet ground than in average garden soil.
Sow the seeds
- Rake the soil smooth and remove weeds.
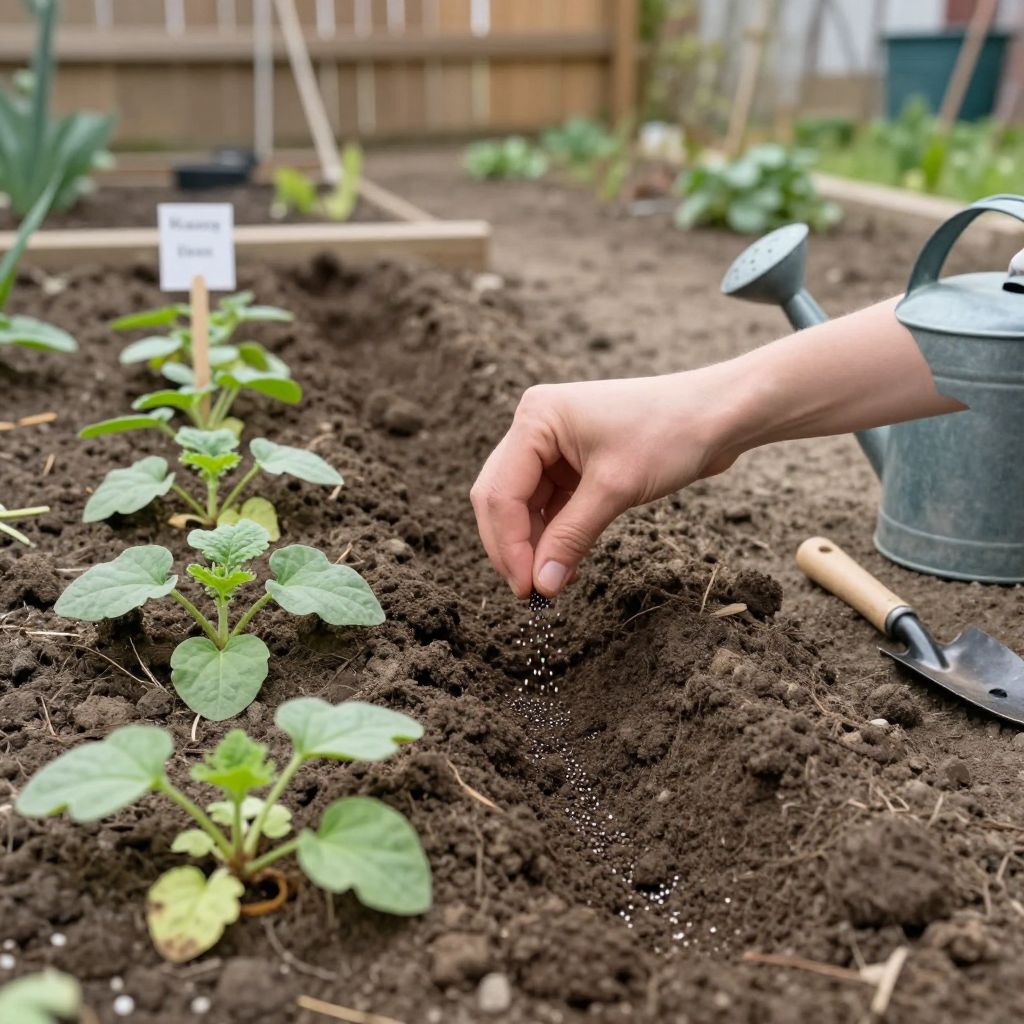
- Sow seeds about 1/4 inch deep, or press them lightly into the surface and cover thinly with soil.
- Space them so seedlings have room to grow, usually several inches apart at first.
- Water gently to settle the soil without washing the seeds away.
Keep the seedbed evenly moist, not saturated, until germination occurs. Depending on temperature and conditions, sprouting may take 1 to 3 weeks or sometimes longer.
Thin and transplant carefully
Once seedlings have a few true leaves, thin them so the strongest plants have room. If you started them in trays, transplant them before roots become crowded.
Handle seedlings by the leaves rather than the stem, and try not to disturb the root ball too much.
What growing conditions do hollyhocks need?
Sunlight
More sun usually means better flowering. Aim for at least 6 hours of direct sunlight a day, though plants in hot regions may appreciate light shade in the afternoon.
Soil and drainage
Well-drained soil is one of the most important factors for healthy hollyhocks. They tolerate average soil better than heavy, waterlogged ground.
If you garden in clay soil, consider raised beds, added compost, or planting on a slight slope to keep roots healthier.
Watering
Water young plants regularly until they are established, especially during dry spells. After that, hollyhocks are fairly tolerant of short dry periods, but they look best with consistent moisture.
Water at the base of the plant rather than overhead whenever possible. This helps reduce leaf disease.
Common mistakes to avoid
- Planting too late in the season for your climate, which can leave seedlings too weak to establish.
- Using heavy, wet soil without improving drainage.
- Starting seeds too early indoors and letting seedlings become pot-bound.
- Transplanting too roughly, which can damage the taproot.
- Overfertilizing, which may produce lush leaves but fewer flowers.
- Overcrowding, which reduces airflow and encourages disease.
How long until hollyhocks bloom?
Many hollyhocks grown from seed bloom in their second year, though some may flower later or sooner depending on variety, climate, and sowing time. Fall-sown plants often get a head start because they establish roots before winter.
If you want flowers the following season, focus on strong root growth rather than trying to rush the plant with too much fertilizer or frequent transplanting.
Practical care for young and mature plants
Support tall stems
Hollyhocks can become top-heavy, especially in windy sites or rich soil. Use stakes or plant them near a fence or wall if they need support, but leave enough airflow around the stems.
Deadhead and tidy up
Removing spent flowers can improve appearance and may encourage a longer display on some plants. At the end of the season, cut back dead stalks and remove diseased leaves from the garden.
Leave room for reseeding
Hollyhocks often self-seed if conditions suit them. If you want new plants to appear naturally, leave a few flower stalks to dry and drop seed. If you do not want volunteers, deadhead before seed pods mature.
Pests and diseases to watch for
Rust
Rust is one of the most common hollyhock problems. It appears as orange or brown spots, usually on the lower leaves first. Good spacing, watering at the soil line, and removing infected leaves can help limit spread.
If rust is severe, clean up fallen leaves and avoid replanting hollyhocks in the same spot year after year.
Aphids and Japanese beetles
Aphids may cluster on new growth and flower stems, while beetles can chew leaves and blooms. A strong spray of water can dislodge aphids, and hand-picking or physical barriers may help with larger pests.
Slugs and snails
Young seedlings can be damaged by slugs and snails, especially in damp gardens. Keep the area weed-free, reduce hiding places, and check plants regularly at night or after rain.
How to collect and save hollyhock seed
If you want to grow hollyhocks again next season, let some seed pods dry fully on the plant. Harvest them when they turn brown and begin to split, then store the seeds in a cool, dry place.
Label the seeds with the plant name and collection date so you can sow them at the right time next year.
Quick planting guide for success
- Choose a sunny, well-drained site.
- Sow in fall in mild climates or in spring where winters are cold.
- Plant seeds shallowly, about 1/4 inch deep.
- Keep soil evenly moist until germination.
- Thin seedlings early and avoid disturbing roots too much.
- Watch for rust, aphids, and slug damage.
Final thoughts
If you’re deciding when to plant hollyhock seeds, match the sowing time to your local climate and your garden conditions. Fall sowing often gives the best head start, but spring sowing works well too when winters are harsh or soil stays wet.
Start with a sunny, well-drained spot, sow shallowly, and protect young seedlings from pests and excess moisture. For more seasonal flower-growing guidance, you may also enjoy reading about how to grow dianthus and starting seeds indoors.