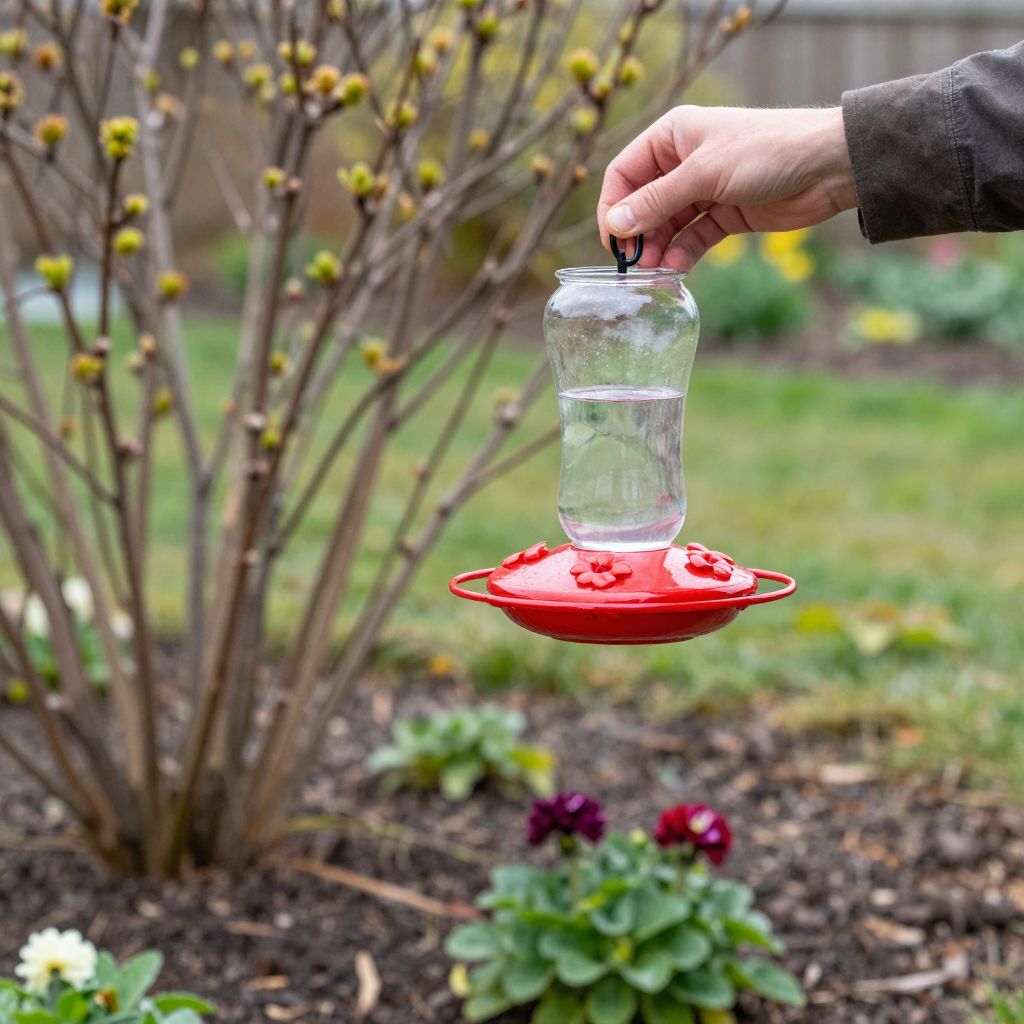
Wondering when to put hummingbird feeders out so you don’t miss the first arrivals? The best time is usually a little before hummingbirds are expected in your area, often in early spring, but exact timing depends on your climate and local migration patterns. Putting feeders out early gives returning birds a reliable food source when nectar is scarce.
If you want to support hummingbirds all season, timing matters as much as feeder placement and maintenance. A clean feeder filled with fresh sugar water can help birds refuel during migration, nesting, and hot weather—provided you set it out at the right time and keep it safe and sanitary.
When to put hummingbird feeders out?
Put hummingbird feeders out about 1 to 2 weeks before you expect the first hummingbirds in your area, or as soon as daytime temperatures are consistently above freezing if you live in a mild climate. In many regions, that means late winter to early spring. If you’re unsure, it’s better to put feeders out early than to wait too long.
How to time feeders by season
Hummingbird migration is regional, not universal. Your best timing depends on where you live, because birds move north and south on different schedules.
Spring
Spring is the most important time to get feeders up early. Returning hummingbirds are often exhausted from migration and need quick access to energy.
- Mild southern areas: late winter or very early spring may be appropriate.
- Temperate regions: early to mid-spring is common.
- Colder northern areas: wait until conditions are reliably above freezing, but still aim to be ready before arrivals.
Summer
Keep feeders out through summer if hummingbirds are active in your garden. Natural nectar sources may be abundant, but feeders can still help during dry spells, heat waves, or while birds are feeding young.
Fall
Many gardeners remove feeders too early in autumn. Leave them out until migration has clearly passed in your area, because late travelers may still depend on them.
Winter
In warmer regions where hummingbirds overwinter, feeders can be useful year-round. In freezing climates, you may need to decide whether to take feeders in at night, use a safe warming method, or pause feeding until birds return.
How to know your local timing
Because migration varies, use local clues instead of a fixed calendar date. Watch for the first blooms hummingbirds favor, listen for reports from nearby gardeners, and check local birding groups or extension resources for arrival patterns in your area.
- Notice when nectar-rich plants begin flowering.
- Track the first sightings in your neighborhood.
- Set feeders out early if your area has unpredictable spring weather.
- Keep feeders available longer in fall if birds are still visiting.
Where to place hummingbird feeders for best results
Placement affects how quickly birds find the feeder and how often you’ll need to clean it. A good location also helps reduce spoilage and discourages pests.
Choose a visible, safe spot
- Hang feeders where hummingbirds can see them easily, such as near nectar flowers or an open flight path.
- Place them out of reach of cats and away from places where predators can hide.
- Use partial shade if possible, especially in hot weather, to slow fermentation.
- Avoid windy spots that make feeders swing excessively.
Keep feeders near habitat, not too close to hazards
Hummingbirds like a mix of open space and cover. Nearby shrubs or trees can provide perches and shelter, but feeders should not be tucked deep into dense cover where predators can ambush birds.
What kind of feeder setup works best
A simple feeder is usually best. Choose one that is easy to take apart, clean, and refill, because hygiene matters more than decorative features.
- Easy to clean: fewer narrow crevices means less mold buildup.
- Bright but practical: red accents may help attract attention, but the feeder should still function well.
- Leak-resistant: reduces wasted nectar and sticky mess.
- Multiple feeding ports: can help when several birds visit, though territorial birds may still guard the feeder.
How to make and maintain hummingbird nectar safely
Use a plain sugar-water mix: 1 part white granulated sugar to 4 parts water. Stir until dissolved and let it cool before filling the feeder. Avoid honey, brown sugar, artificial sweeteners, and red dye, which can cause problems or offer no benefit.
Maintenance routine
- Empty and rinse the feeder regularly, especially in warm weather.
- Scrub all parts with hot water and a bottle brush.
- Rinse thoroughly so no soap residue remains.
- Refill with fresh nectar.
In hot weather, nectar can spoil quickly. If temperatures are high, check feeders more often and replace contents before they turn cloudy, fermented, or moldy.
Common mistakes to avoid
Many hummingbird-feeder problems come from timing, placement, or poor sanitation rather than the feeder itself.
- Putting feeders out too late: birds may move on before finding them.
- Leaving nectar too long: spoiled sugar water can harm birds.
- Using the wrong sweeteners: stick to plain white sugar and water.
- Hanging feeders in full sun all day: nectar can ferment faster.
- Not cleaning ports and seams: mold and residue build up quickly.
- Taking feeders down too early in fall: late migrants may still need them.
What to do if hummingbirds are not visiting
If your feeder stays empty, don’t assume it’s the wrong season right away. Birds may simply not have arrived yet, or they may prefer nearby flowers and need time to discover the feeder.
Quick troubleshooting checklist
- Confirm migration timing for your region.
- Move the feeder to a more visible location.
- Check that the nectar is fresh and the feeder is clean.
- Try placing it near hummingbird-friendly flowers.
- Remove competing nectar sources only if they are invasive or problematic; otherwise, let the birds choose.
Patience helps. Once a bird finds a reliable feeder, it may return repeatedly, especially if the location is consistent and the nectar stays fresh.
Pair feeders with hummingbird-friendly plants
Feeders work best when your garden also offers real nectar sources. Native and nectar-rich flowers can help attract hummingbirds naturally and support them beyond what a feeder alone can provide.
Good garden conditions for hummingbird plants
- Full sun to partial sun, depending on the plant.
- Well-drained soil for most flowering species.
- Regular watering while plants establish.
- Mulch to conserve moisture, but keep it away from stems.
Choose plants that bloom across different seasons so your garden offers a longer food window. A layered planting of annuals, perennials, shrubs, and vines can create a more reliable habitat than a feeder alone.
Seasonal care and safety tips
Feeder care changes with the weather. Warm, humid conditions require more frequent cleaning, while cool weather may slow spoilage but can bring freezing risks.
- In hot weather, inspect feeders daily if possible.
- In cool weather, watch for overnight freezing.
- During storms or strong winds, make sure feeders are secure.
- If ants or bees become a problem, adjust placement and use feeder features designed to reduce access without harming wildlife.
Conclusion
The simplest rule for when to put hummingbird feeders out is to have them ready before the birds arrive, not after. Set feeders out 1 to 2 weeks ahead of expected migration, keep them clean, and leave them up as long as hummingbirds are still visiting in your area. If you want to support them even more, pair feeders with nectar-rich plants and a steady maintenance routine.
For more practical garden guidance, you may also want to read about how to attract hummingbirds to your garden and the best flowers for pollinators.