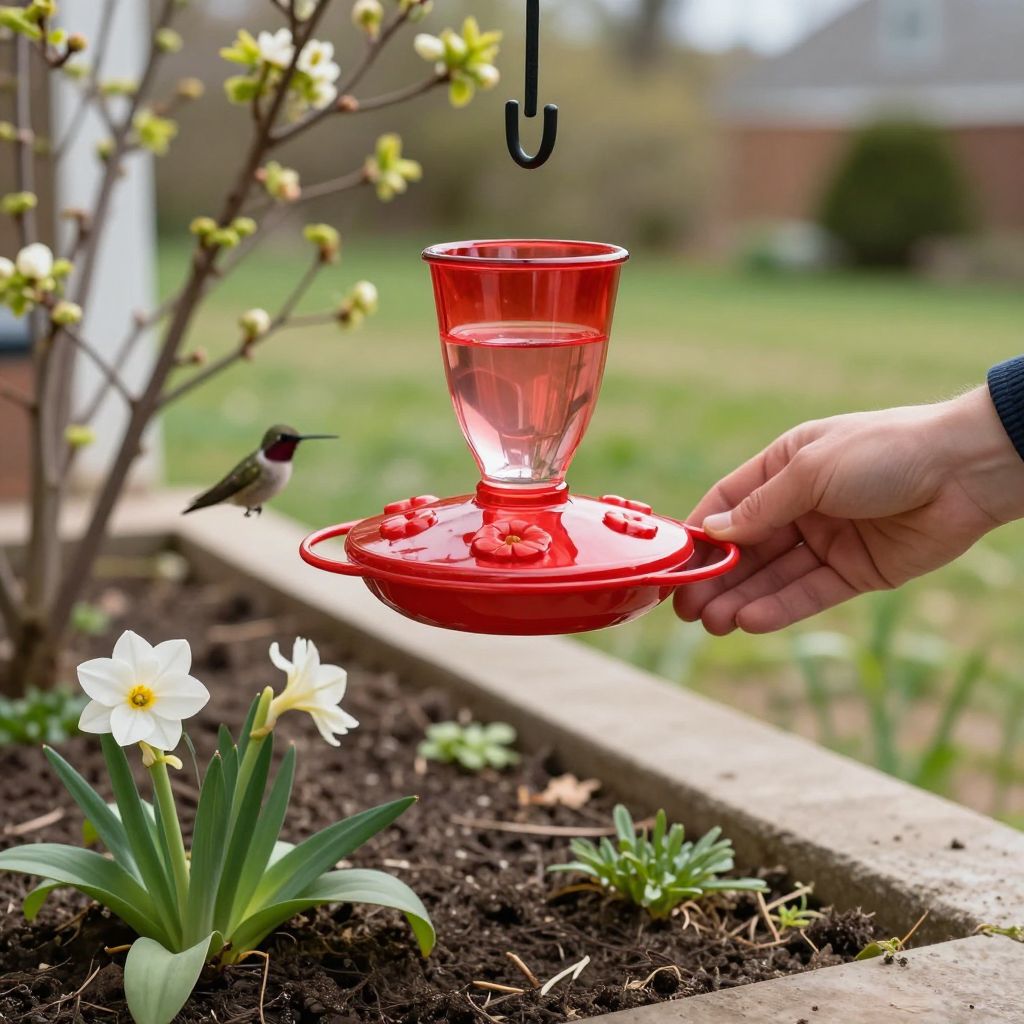
When should you put out hummingbird feeders? The short answer is: put them out before hummingbirds arrive in your area, and keep them up as long as birds are still feeding. Exact timing depends on your climate, but in many places that means early spring in the South and a few weeks later farther north.
Getting the timing right helps you support migrating hummingbirds when natural nectar is scarce. It also gives you a better chance of attracting them to your garden and keeping feeders safe, clean, and useful through the season.
When to put out hummingbird feeders?
Put out hummingbird feeders about 1 to 2 weeks before the earliest hummingbirds usually arrive in your region, then leave them up until migration is clearly over. In warm climates, that may mean late winter or early spring; in cooler climates, mid- to late spring is more typical. If you are unsure, err on the early side.
How to time feeders by season
Spring: set feeders out early
Spring is the most important time to have feeders ready. Migrating hummingbirds often arrive before many nectar plants are blooming, so a clean feeder can be a valuable food source.
- Southern regions: often late winter to early spring
- Mid-Atlantic and similar climates: usually early to mid-spring
- Northern regions: often mid- to late spring
If you already know when hummingbirds appear in your yard each year, use that as your guide. If not, watch local sightings, ask nearby gardeners, or check local birding groups for arrival reports.
Summer: keep feeders maintained
Summer is when feeders may be used heavily, especially during nesting and when young birds are learning to feed. Hot weather means nectar spoils faster, so maintenance matters more than timing.
- Check nectar often in hot weather.
- Clean feeders regularly to prevent mold and fermentation.
- Refill before the feeder is empty if birds are active nearby.
In very warm weather, nectar may need changing every few days, sometimes sooner if temperatures are high or the feeder sits in direct sun.
Fall: keep feeders up during migration
Do not take feeders down too early in autumn. Hummingbirds may pass through later than you expect, and some species migrate in waves.
Leave feeders out until you have not seen any hummingbirds for at least 2 weeks, or until local migration is clearly finished. In some warm areas, birds may linger longer than in cooler regions.
Winter: only in mild climates
In frost-free or very mild climates, hummingbirds may overwinter and continue visiting feeders. If freezing is possible, you may need insulation, heated feeder solutions, or a schedule that prevents nectar from freezing.
Never rely on a frozen feeder. If temperatures drop below freezing, nectar can become inaccessible even if the feeder is still hanging.
Signs it is time to put feeders out
Instead of using a calendar alone, look for local cues. Hummingbird timing varies with elevation, latitude, and weather patterns.
- Local gardeners report first sightings
- Early spring flowers are beginning to bloom
- Weather is warming enough for insects and nectar plants to become active
- You have seen hummingbirds in nearby neighborhoods or parks
If you garden in a variable climate, these cues are often more reliable than a fixed date.
Where to place hummingbird feeders for best results
Placement affects how quickly hummingbirds find the feeder and how easy it is to maintain. Choose a spot that is visible, sheltered, and safe.
Best placement tips
- Hang feeders where you can see them from a window or porch.
- Choose partial shade if possible to slow nectar spoilage.
- Keep feeders away from strong winds.
- Place them near shrubs or small trees so birds have perches and cover.
- Avoid hanging them too close to dense cover where cats may hide.
One feeder in a visible, sheltered spot is often better than several poorly placed feeders scattered around the yard.
What kind of feeder and nectar should you use?
Use a feeder designed for hummingbirds with easy-to-clean parts. A simple feeder is often easier to maintain than a decorative model with many hard-to-reach crevices.
Safe nectar basics
The most common homemade nectar is a simple sugar-water mix made with plain white sugar and water. Avoid dyes, honey, brown sugar, and artificial sweeteners, which can be harmful or encourage spoilage.
- Use clean water and plain white sugar only.
- Mix thoroughly until dissolved.
- Let the solution cool before filling the feeder if you heated the water.
Store extra nectar in the refrigerator for a short time if needed, and discard any that looks cloudy, smells fermented, or contains debris.
How to maintain feeders through the season
Good maintenance is just as important as putting feeders out on time. Dirty feeders can spread disease and discourage birds from returning.
Cleaning routine
- Empty any old nectar.
- Rinse the feeder with hot water.
- Scrub all feeding ports and crevices.
- Rinse thoroughly so no soap residue remains if you used soap.
- Let the feeder dry before refilling.
In warm weather, clean more often. In cooler weather, you may be able to stretch the interval a bit, but never leave nectar long enough to ferment or mold.
When to replace nectar
- Hot weather: every 1 to 3 days if needed
- Mild weather: every few days to a week, depending on use
- If nectar looks cloudy or smells off: replace immediately
Frequent cleaning also helps prevent ants, bees, and wasps from taking over the feeder.
Common mistakes to avoid
Many feeder problems come from a few simple mistakes. Avoid these and your feeder will be more useful and less likely to create problems in the garden.
- Putting feeders out too late in spring and missing early arrivals
- Taking feeders down too early in fall before migration ends
- Letting nectar sit too long in hot weather
- Using feeders that are hard to clean
- Placing feeders in full sun all day
- Using colored additives or nonstandard sweeteners
If bees are crowding the feeder, move it to a shadier location or switch to a design with smaller feeding ports. If ants are a problem, use an ant moat or reposition the feeder away from ant trails.
How to support hummingbirds with garden plants
Feeders are helpful, but a hummingbird-friendly garden gives birds more natural food and shelter. Blooming plants can also reduce pressure on feeders during peak season.
Good garden conditions for nectar plants
Choose plants that match your local climate, sunlight, and soil. Many hummingbird-friendly flowers do best in full sun to part shade with well-drained soil and regular watering while they establish.
- Plant in groups so flowers are easier for birds to find.
- Mix early, midseason, and late bloomers for a longer nectar season.
- Use mulch to help conserve moisture, but keep it away from stems.
- Deadhead or prune lightly when appropriate to encourage more blooms.
Native flowering plants are often the best long-term choice because they fit local conditions and tend to support more pollinators overall.
Troubleshooting feeder problems
Hummingbirds are not coming
If birds are not visiting, the feeder may simply be too early, too late, or too hidden. Try moving it to a more visible spot, cleaning it, and checking whether local hummingbirds have arrived yet.
Nectar spoils quickly
Hot sun is usually the culprit. Move the feeder to a shadier location and clean it more often. A smaller feeder can also help if birds are not emptying a large one quickly.
Ants, bees, or wasps are taking over
Use an ant moat, keep the feeder clean, and avoid sticky nectar drips. If bees are a persistent issue, try a feeder style that makes access easier for hummingbirds but less attractive to insects.
Mold or black residue appears
This usually means the feeder needs deeper cleaning. Disassemble it fully, scrub the ports, and inspect rubber seals or tiny crevices where residue can hide.
Best practice for ending the season
At the end of the season, do not rush to take feeders down. Keep them available until migration has clearly passed in your area. This is especially important during warm autumns, when hummingbirds may linger longer than expected.
Once you are ready to store the feeder, clean it thoroughly, let it dry completely, and keep it in a place where it will not crack, mold, or attract pests.
If you want to support hummingbirds even more, plan your garden around staggered bloom times and keep a feeder ready before spring arrivals. For more seasonal wildlife-garden planning, you may also enjoy reading about how to choose pollinator-friendly flowering plants and simple ways to create a bird-friendly garden layout.