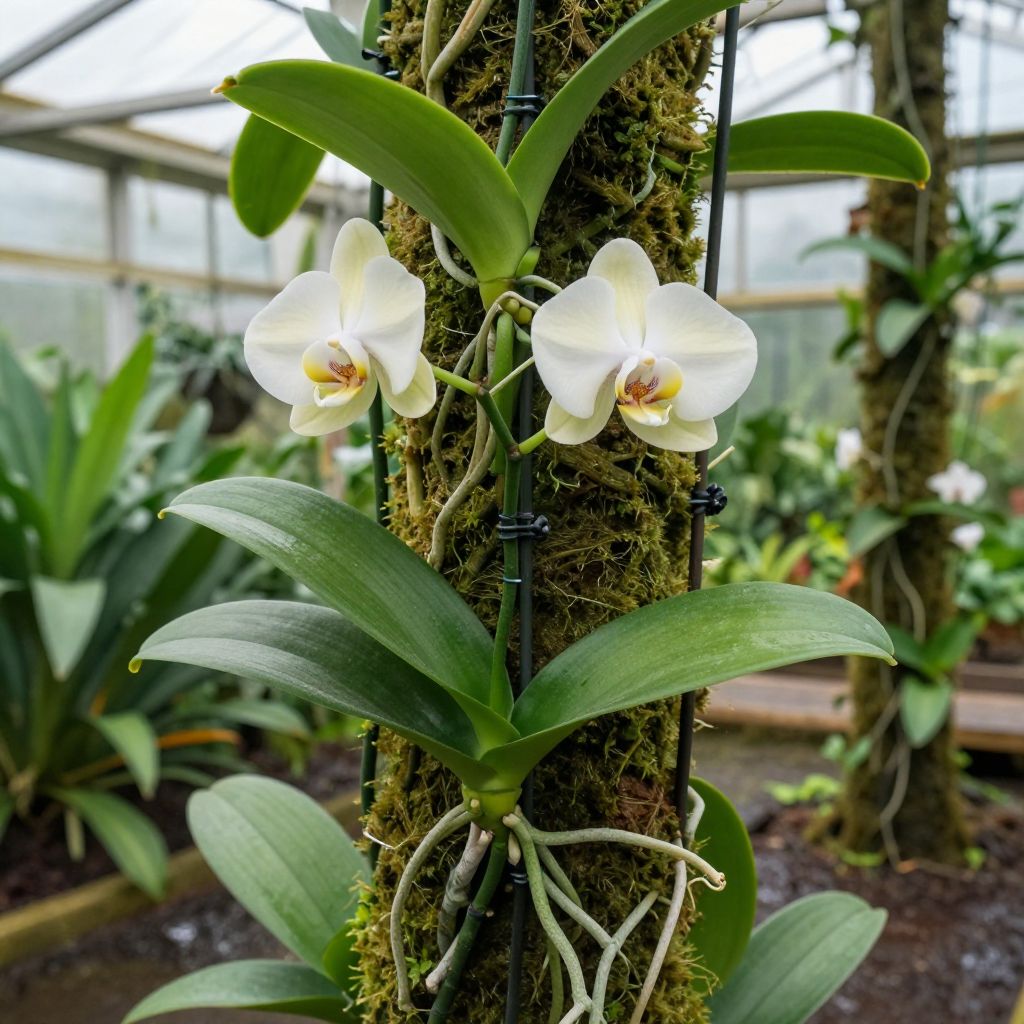
Does vanilla come from orchids? Yes—vanilla is produced from the fruit of a specific orchid, most commonly Vanilla planifolia. The familiar flavor comes from cured vanilla beans, which are actually orchid seed pods, not seeds or flowers.
Growing vanilla is possible, but it is not a quick or beginner-easy crop. It needs warm temperatures, high humidity, bright filtered light, and a support to climb, plus patience for flowering and hand pollination in many home settings.
Does vanilla come from orchids?
Yes. Vanilla comes from a climbing orchid, usually Vanilla planifolia. The “vanilla bean” is the plant’s long seed pod, and the flavor develops only after the pods are harvested and cured. In other words, vanilla is an orchid fruit crop, not a spice from the flower itself.
What kind of orchid is vanilla?
Vanilla orchid is a tropical vine, not the compact potted orchids most people grow indoors. It has thick, fleshy stems, aerial roots, and long leaves, and it climbs trees or supports in its native habitat. That growth habit affects everything from potting mix to pruning and support.
Why this matters for home gardeners
If you treat vanilla like a typical phalaenopsis orchid, it will usually struggle. It needs more room, more humidity, and a stronger climbing structure than many house orchids. Success depends on mimicking a warm, airy rainforest edge rather than a dry windowsill.
Can you grow vanilla at home?
Yes, but only if you can provide stable warmth, humidity, and bright indirect light. Vanilla is best suited to greenhouses, conservatories, or very bright indoor spaces with climate control. In cooler or drier homes, it may survive but grow slowly and rarely flower.
Ideal growing conditions
- Temperature: Warm conditions year-round are important. Avoid cold drafts and sudden temperature swings.
- Light: Bright, filtered light is best. Harsh direct sun can scorch the leaves.
- Humidity: High humidity helps aerial roots function and reduces stress.
- Air movement: Gentle airflow prevents fungal problems in humid spaces.
- Support: A moss pole, trellis, or sturdy post helps the vine climb.
Because climate varies, use your local conditions as the guide. If your home is dry in winter, you may need a humidifier. If your summer sun is intense, filter it with a sheer curtain or shade cloth.
How to plant and pot a vanilla orchid
Vanilla orchids need a loose, chunky medium that holds some moisture but drains quickly. They do not like dense, soggy soil. A bark-based orchid mix with added moisture-retentive material is usually better than standard potting soil.
Good potting mix traits
- Coarse and airy rather than fine and compact
- Moisture-retentive but never waterlogged
- Rich in organic matter, yet fast draining
- Stable enough to anchor the vine and roots
Use a pot with excellent drainage holes. Many growers also add a support inside the container so the vine can climb as it grows. If the plant becomes top-heavy, a heavier pot can help prevent tipping.
Planting steps
- Choose a container slightly larger than the root mass.
- Place a support in the pot before planting if possible.
- Set the vine so the roots contact the mix without burying the stem too deeply.
- Backfill with a chunky orchid mix and firm gently.
- Water lightly to settle the medium, then let excess drain away.
How much water does a vanilla orchid need?
Vanilla orchids like evenly moist conditions, but they should never sit in wet mix. Water when the top layer of the medium begins to dry, adjusting for temperature, pot size, humidity, and season. In warm weather they may need more frequent watering than in cooler months.
Watering mistakes to avoid
- Letting the pot dry out completely for long periods
- Keeping the mix constantly saturated
- Using a pot without drainage
- Ignoring reduced water needs during cooler, darker periods
Check the roots and medium rather than watering by the calendar. Healthy roots are firm, and the mix should feel lightly moist, not swampy. If the plant is in a humid greenhouse, you may water less often than in a dry indoor room.
Sunlight, shade, and placement
Vanilla orchids prefer bright indirect light. Outdoors, they usually need dappled shade under trees or shade cloth. Indoors, an east-facing window or a bright room with filtered light often works better than a hot south-facing window.
Signs the light is wrong
- Too much sun: yellowing, bleached patches, or scorched leaves
- Too little light: weak growth, long gaps between leaves, and poor flowering
- Good light: steady vine growth and healthy, medium-green leaves
Move the plant gradually if you change its location. Sudden shifts from shade to strong light can damage the leaves quickly.
How to get a vanilla orchid to flower
Flowering is one of the hardest parts of growing vanilla at home. Mature plants need strong growth, the right light, and warm conditions before they produce flowers. Even then, many home-grown plants do not bloom unless they are very well established.
What encourages flowering
- Long, healthy vines with plenty of aerial roots
- Consistent warmth and humidity
- Bright filtered light
- Regular but not excessive feeding during active growth
- Room for the vine to climb and mature
Do not expect flowers from a small cutting or a stressed plant. Vanilla often needs time to build enough energy before it can bloom.
Hand pollination and pod production
In many places, vanilla flowers do not have the natural pollinators they need, so gardeners hand-pollinate them. The flowers are short-lived, often opening for only a day, so timing matters. If pollination succeeds, the flower can develop into a vanilla pod.
Basic hand-pollination approach
- Watch for a freshly opened flower.
- Use a clean small tool or your fingertip to lift the flower’s separating membrane.
- Press the pollen-bearing part into contact with the stigma.
- Check for pod swelling over the following days and weeks.
Work gently and keep tools clean. If a flower is too old or damaged, it may not set fruit. Not every flower will become a pod, even under good care.
Pruning, training, and maintenance
Vanilla orchids grow as long vines, so pruning and training are part of routine care. You can guide the stem along a trellis, loop it back down when it gets too long, or trim it to manage size. Pruning also helps produce cuttings for propagation.
Maintenance tips
- Attach the vine loosely with soft ties so stems are not crushed.
- Remove dead or damaged growth promptly.
- Keep the support stable as the plant gains weight.
- Wipe dust from leaves so they can photosynthesize efficiently.
Avoid cutting too much at once. Vanilla stores energy in its stems, so heavy pruning can slow growth. Make clean cuts with sanitized pruners.
Common pests and diseases
Like many orchids, vanilla can attract pests when conditions are too dry, too crowded, or too stagnant. Mealybugs, scale, and spider mites are common indoor problems. Root rot and stem rot are more likely when the mix stays wet or airflow is poor.
How to troubleshoot problems
- Mealybugs or scale: isolate the plant and remove pests early with careful cleaning.
- Spider mites: increase humidity and inspect leaf undersides regularly.
- Yellowing leaves: check for overwatering, poor drainage, or too much sun.
- Mushy roots or stem: improve drainage and remove rotted tissue if needed.
Prevention is easier than rescue. Give the plant airflow, avoid overpotting, and inspect new growth often so problems are caught early.
Propagation from cuttings
Vanilla is commonly propagated from stem cuttings. This is often the most realistic way for home gardeners to start a plant, since seed propagation is slow and difficult. A healthy cutting with several nodes can root and begin climbing if conditions are warm and humid.
Propagation basics
- Choose a healthy stem section with several nodes.
- Let the cut end dry briefly before planting if needed.
- Place nodes in a moist, airy medium.
- Keep humidity high and light bright but indirect.
New cuttings need patience. They may sit for a while before producing visible new growth, especially if temperatures are not consistently warm.
Harvesting and curing vanilla pods
Harvesting is only the first step. Vanilla pods must be cured to develop their familiar aroma and flavor. Fresh pods do not smell or taste like finished vanilla. Curing is a careful process of heating, sweating, drying, and conditioning that takes time.
For home gardeners, this is often the most challenging part after flowering. If you manage to produce pods, handle them carefully and research a proper curing method before harvest so you do not lose quality.
Best practices and common mistakes
Vanilla orchids reward steady care more than frequent intervention. The most common mistakes are using the wrong potting mix, letting the plant dry out too much, exposing it to harsh sun, or expecting fast results from a young plant.
Do this instead
- Provide a warm, humid, bright location.
- Use a loose orchid-style mix with excellent drainage.
- Train the vine on a support from the beginning.
- Water based on the plant’s actual moisture needs, not a rigid schedule.
- Watch for pests and rot before they spread.
If you are new to orchids, start by learning how to read the plant’s leaves, roots, and growth pattern. Vanilla is forgiving only when its basic needs are met consistently.
Conclusion
So, does vanilla come from orchids? Absolutely—it comes from the fruit of a climbing orchid, and growing it successfully means thinking like a tropical orchid grower. If you want to try it, start with bright filtered light, warm humidity, excellent drainage, and a sturdy support, then be patient with the plant’s slow pace.
For more orchid care basics, you may also find these guides helpful: are orchids hard to take care of and do orchids need sunlight.